DO THE WORK
Lop and Scatter
Lop and scatter is the practice of redistributing woody material, especially smaller diameter material that is likely to break down quickly, around a site where material has been cut.

Benefits
When done correctly, lop and scatter:
- Avoids the work, time, emissions, and cost of hauling material offsite.
- Keeps carbon onsite.
- Contributes nutrients to local food webs, speeds up the breakdown of organic material.
- Holds moisture in the soil later into the dry season, because the scattered organic material like wood and duff absorb water.
- Spreads out fuels, which reduces severity of future fire when done properly. Separating pieces of flammable material and decreasing its verticality means that, in the event of a fire, the heat will be spread out and reduce the risk of damaging high value vegetation, or crown fires.
- Creates cover and habitat for wildlife.
- Helps carry and direct fire during a subsequent Beneficial Fire.

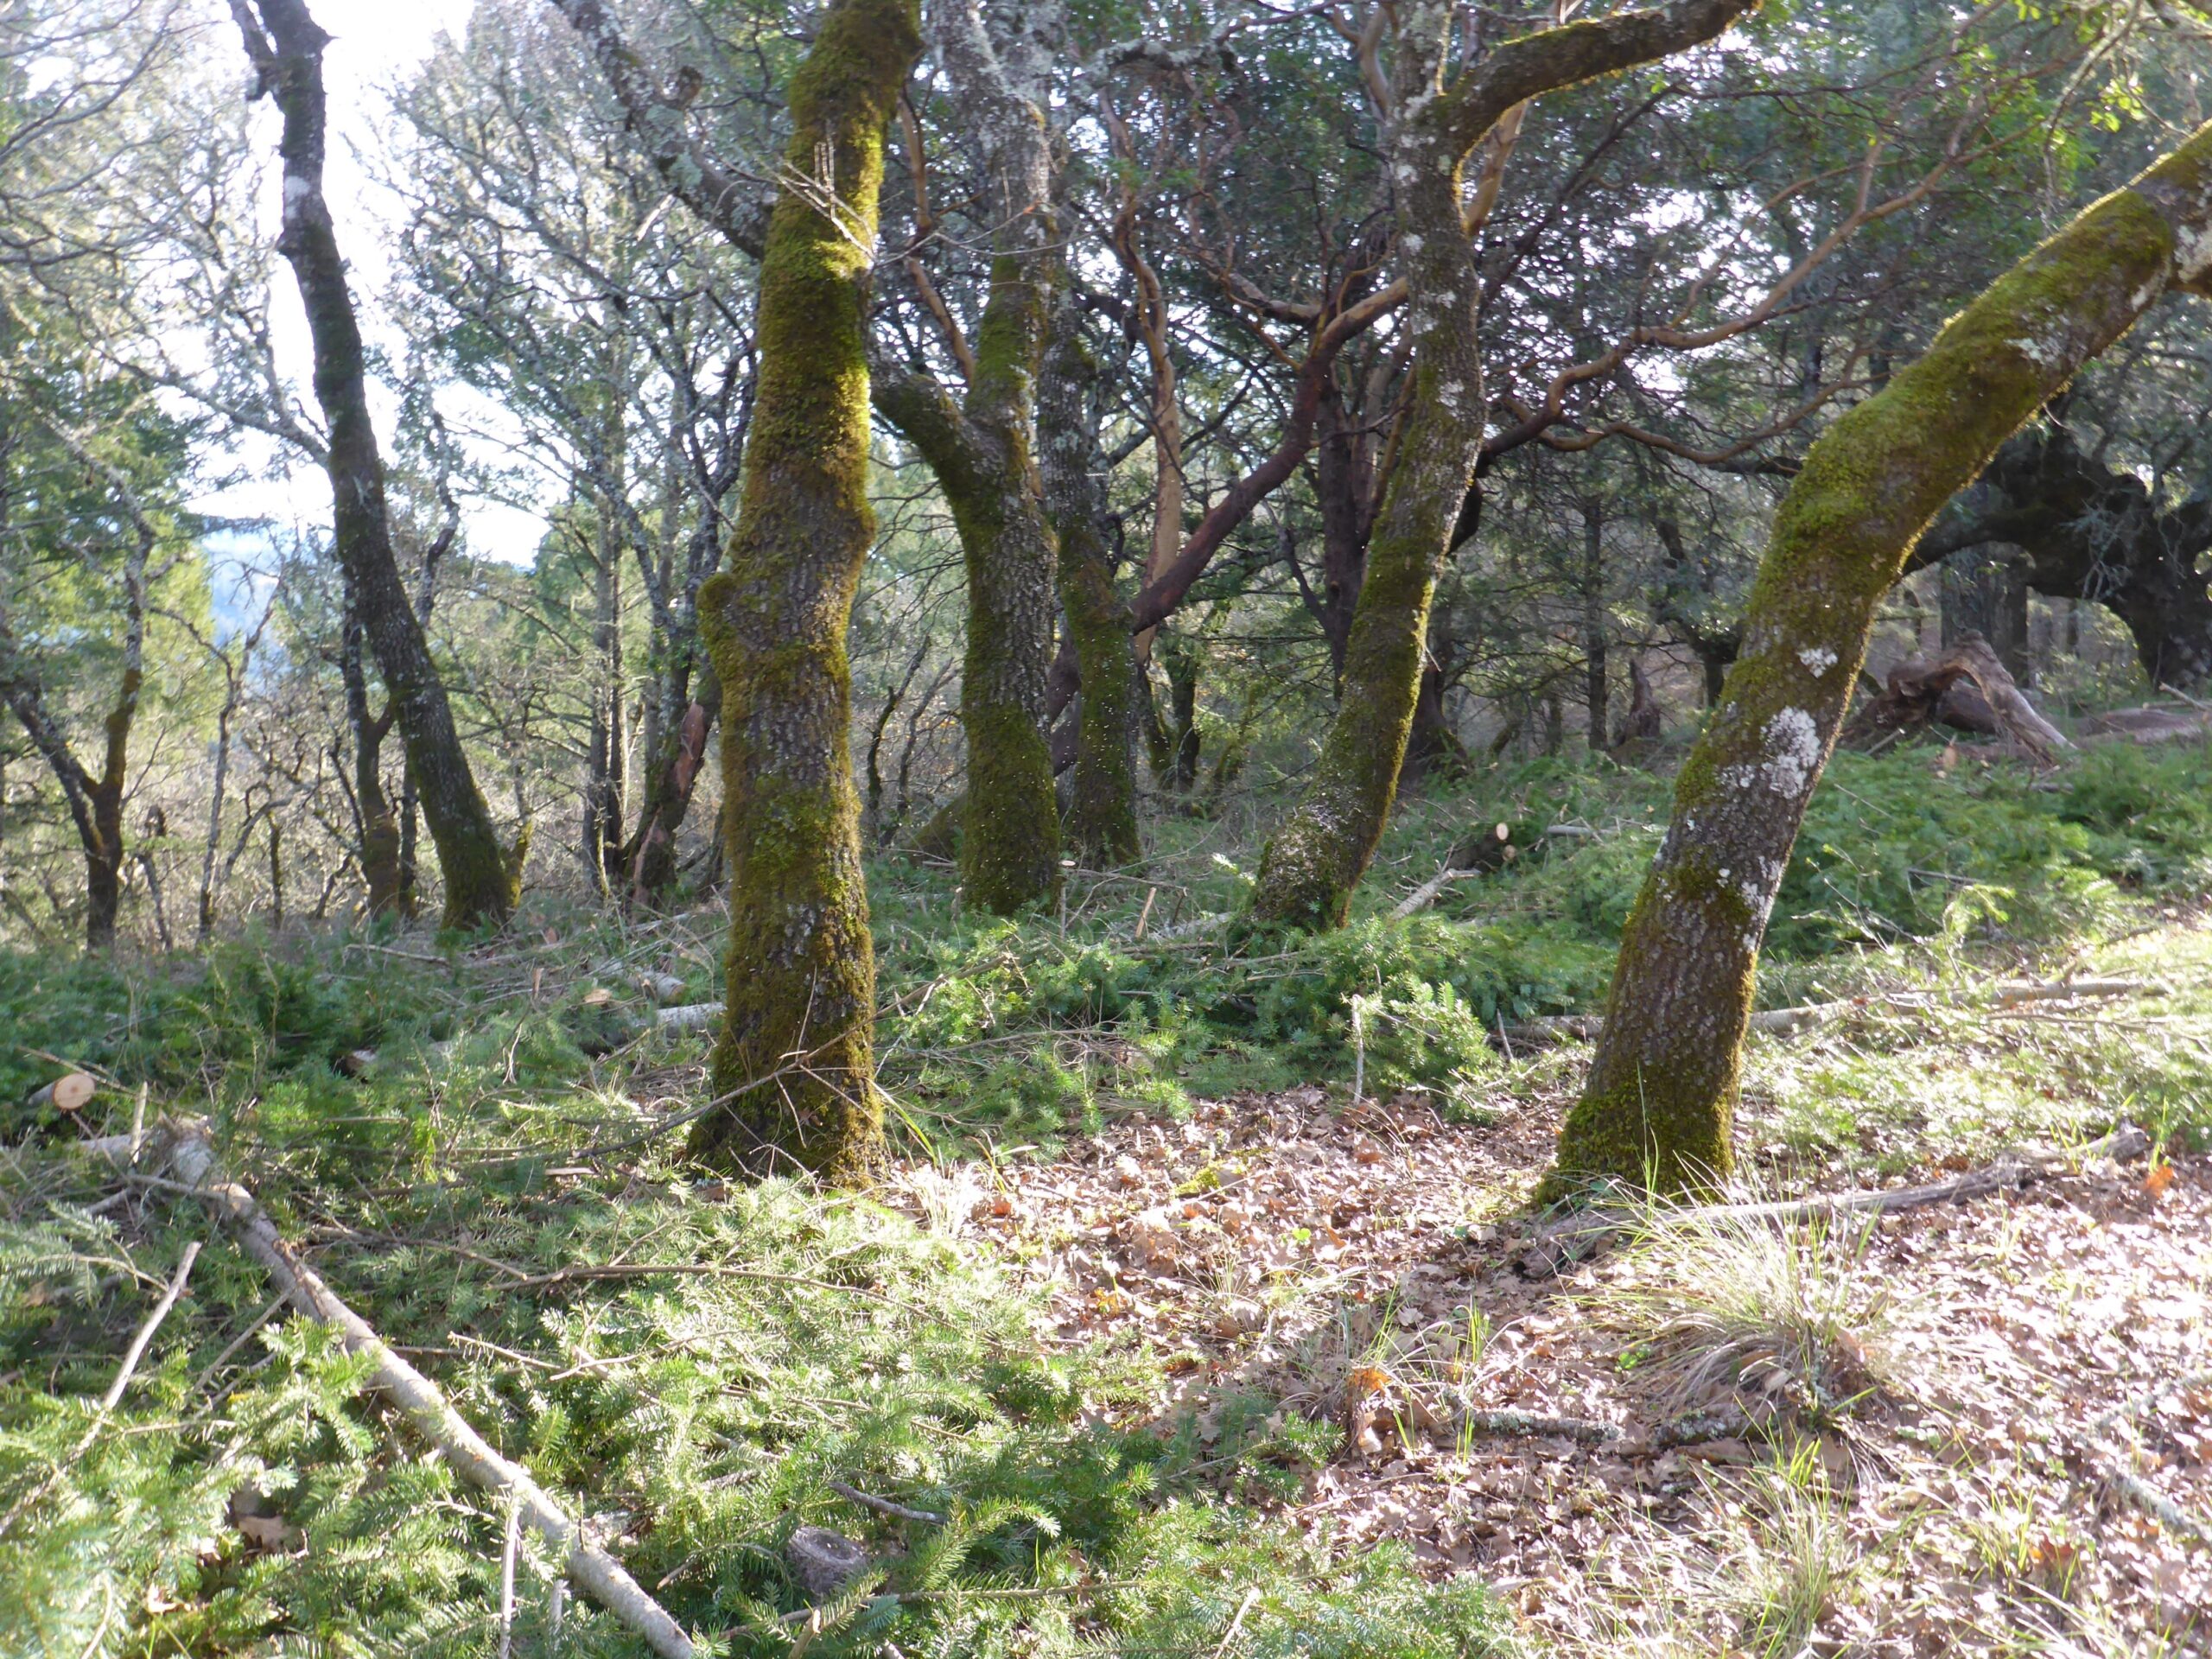
A demonstration of Lop and Scatter following Thinning and the removal of Douglas fir at Pepperwood Preserve in Santa Rosa. Photo Credit: Pepperwood Preserve.
If done improperly or in areas where fuels are dense, lop and scatter can create ladder fuels that increase the likelihood of future fire causing damage to root systems, canopies, wildlife habitat, and native plants.
When And Where to Lop & Scatter
Lop and scatter is used after Thinning or Limbing. It is a good option for Managing Woody Material in these situations:
- Where it is difficult to move material to a location where it can be chipped or burned, such as inaccessible or steep areas.
- When a site is being regularly maintained or has only a moderate amount of material to manage.
- Beyond the 100 foot defensible space and outside of Shaded Fuel Breaks.
- Where the risk of subsequent moderate- to high-severity fire is low. If fire is a risk, it may be better to Pile Burn or otherwise consume or remove most of the material.
- Where a subsequent Beneficial Fire will consume most of the material.
Because lop and scatter retains fuels instead of removing them, it is important to closely follow guidelines to reduce the chance that a subsequent fire could damage valued trees, habitat, vegetation, or structures.
Key Points Before Proceeding
Be sure to assess whether there is enough accessible space on the site to spread out the amount of material that will be generated at a depth and concentration that limits the severity of any future wildfire or beneficial fire. If there is too much material for the space, an additional method for Managing Woody Material will be needed.
How to Lop & Scatter
- Select material that you are able to move. See Retaining & Creating Habitat Feature for wildlife-friendly uses of larger woody materials.
- Scatter material below knee height (18 inches), and at least four feet from the base of any tree. Extended smoldering heat can damage roots and kill trees.
- Place material directly in contact with the ground to increase the speed of decomposition and decrease its flammability as a ladder fuel.
- Ensure the ends of branches and logs are pointed away from trees. In a future fire, this helps channel heat away from trees.
- Avoid densely layering material on top of stands of native grass and other desirable low-growing plants, as this can smother and kill them.

Variations on this Practice
When working on steep slopes or areas with bare soil, lop and scatter can be slightly modified to offer the additional benefit of soil protection. The modified practice is called “contour lop and lay.” Follow these steps to contour lop and lay:
- Spread duff/leaf litter, wood chips, twigs, and small sticks on bare soil to cover the soil and slow and spread water as it falls from the sky or runs downhill. This helps reduce erosion.
-
 Lay small to medium sticks (one to four inches in diameter) in a matrix perpendicular to the slope with 12 to 18 inches between the adjacent sticks and those above/below. It may be helpful to picture a Plinko board or a brick wall of offset pieces catching the water, slowing it, and distributing it evenly. The arranged sticks prevent water from flowing directly downhill and gaining momentum.
 - It’s most effective if the sticks are in contact with the soil across their full length. It is okay to spread the matrix further apart if materials are in short supply.
- In places where simple lop and lay fails to hold the soil in place, use Lop & Lay Brush Wattles instead.
Contour lop and lay can help use excess material to protect the soil. While it is not a replacement for using straw wattles or other manufactured items for erosion control, it is a cost-free alternative using local materials with a significantly lower carbon cost.
Timing Considerations
- Material disposition is best done after bird nesting season, generally from March through August in Sonoma County. This timeframe covers the majority of songbirds and raptors (birds of prey). If vegetation management must be done during nesting season, consider first conducting Nesting Bird Surveys. Surveying over a longer period can protect more types of birds. For example, the Northern Spotted Owl can begin nesting as early as January in Sonoma County.
- It’s important to manage flammable materials before the fire season, to reduce damage from a possible wildfire.
Equipment
- Personal Protective Equipment (PPE)
- Long pants
- Boots
- Helmet
- Eye protection
- Leather gloves
- Ear protection
Tools
- Hand saw
- Pruner and/or loppers (power tools optional)
- Pole saws or a ladder to use with hand tools
Maintenance
As material decays, you can reposition them or push them down, to increase contact with the ground and speed up decomposition.
Related Practices
Retaining & Creating Habitat Features
Please note: this is a general guide. The specifics of how and when to do this practice will depend on many factors, including the site’s particular vegetation, climate and topography, history, and land management goals. Always consult with a professional if you’re unsure.
Do you have your principles in mind? Remember to regularly check in with your land management goals, to assure your practices and actions will actually achieve them.


